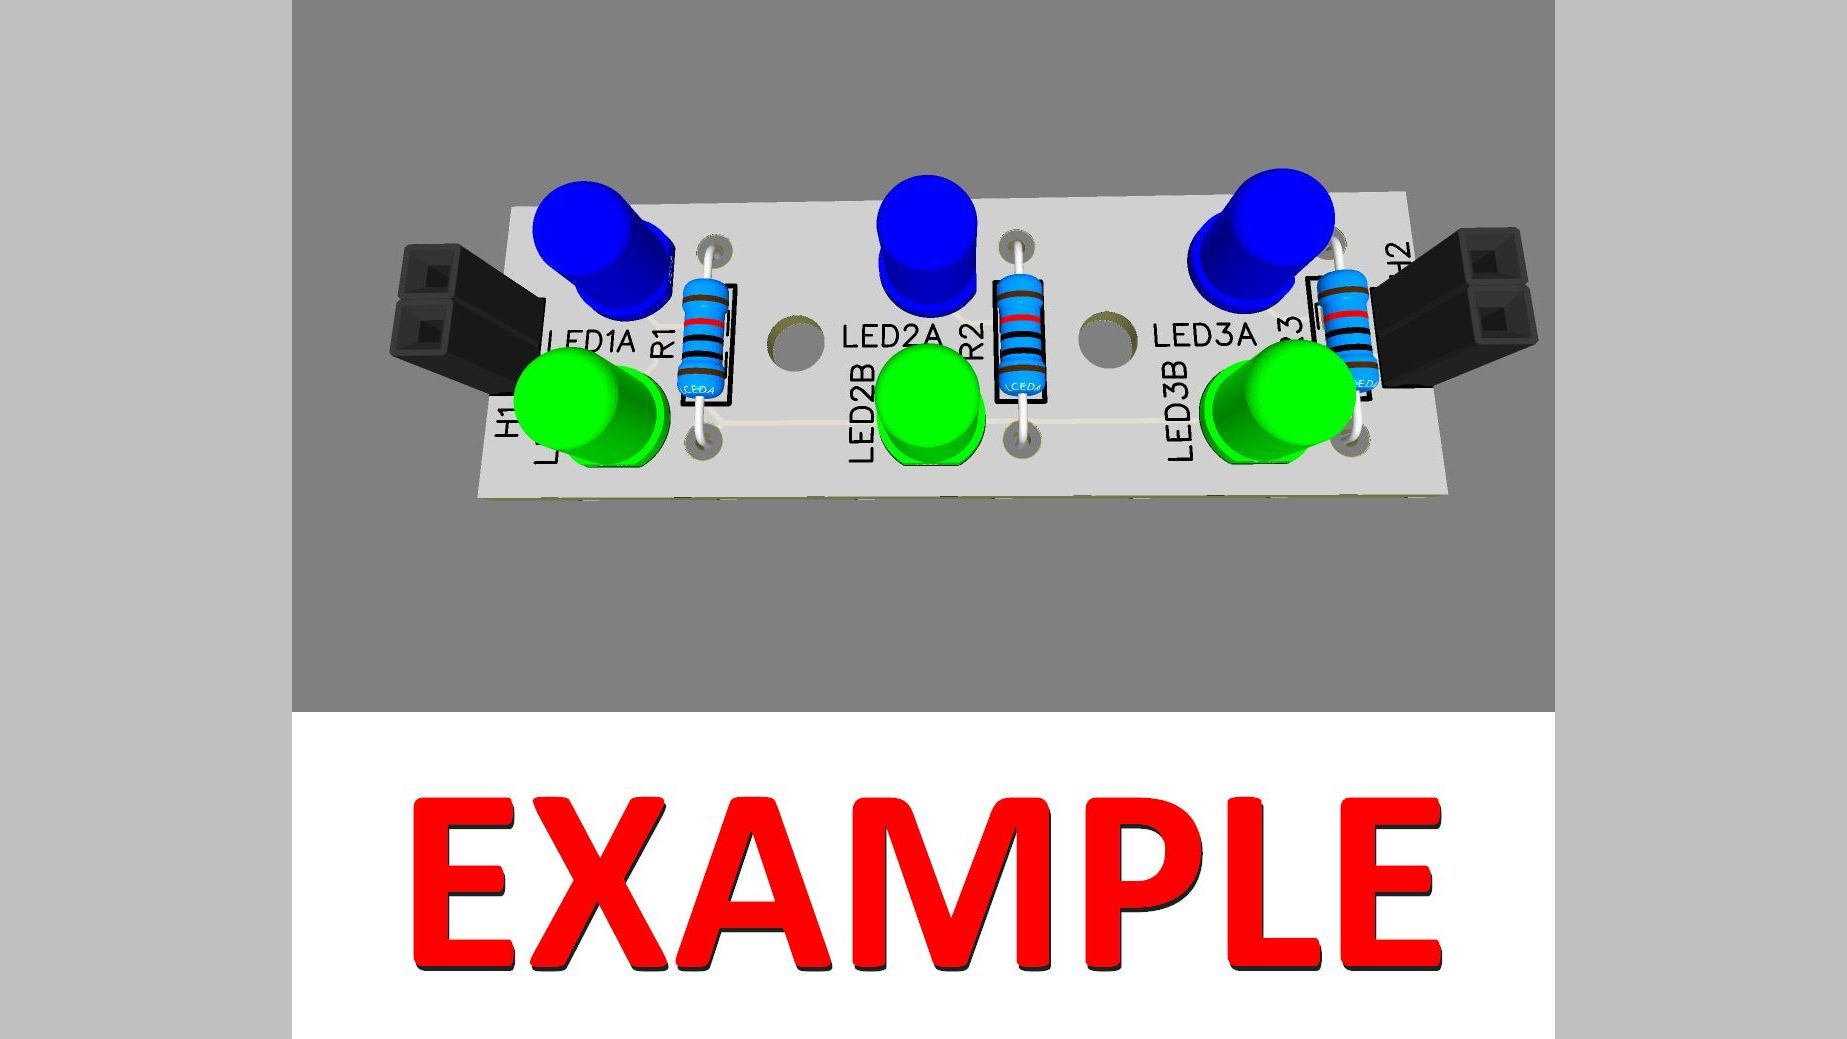
Rendered Product

Small Light Stick

When you need a little light for your project ...

Details

OPTIONS
Ordering Options
ELECTRICAL SPECS
Schematic
PHYSICAL SPECS
...

DESIGN

Rendered Example
Schematic

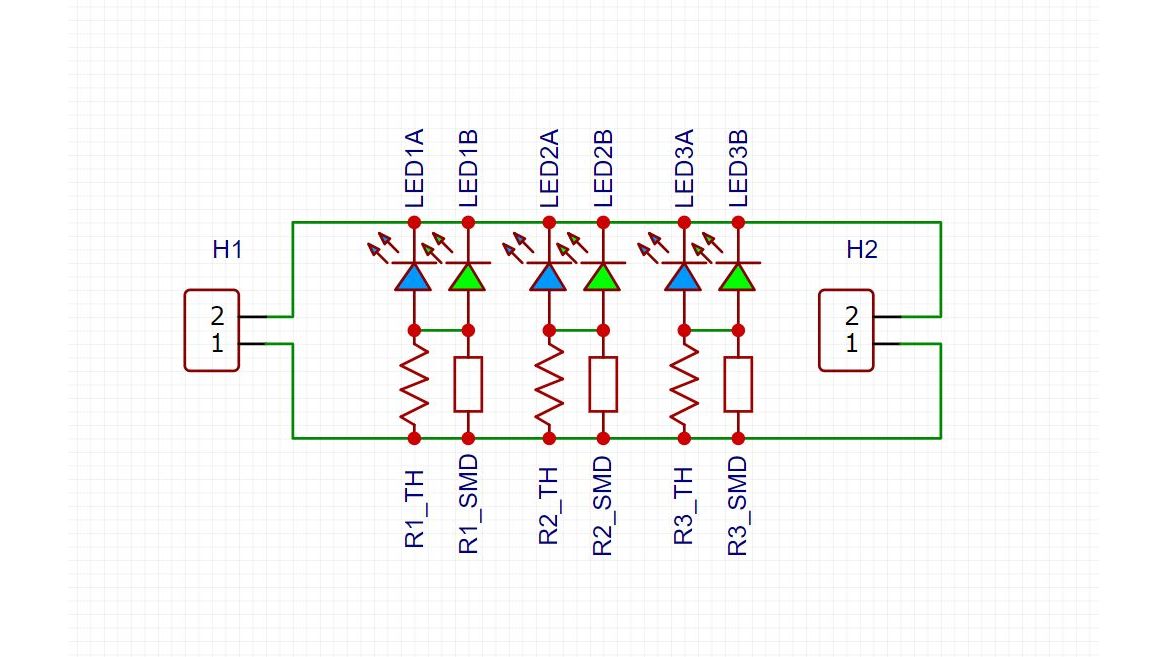
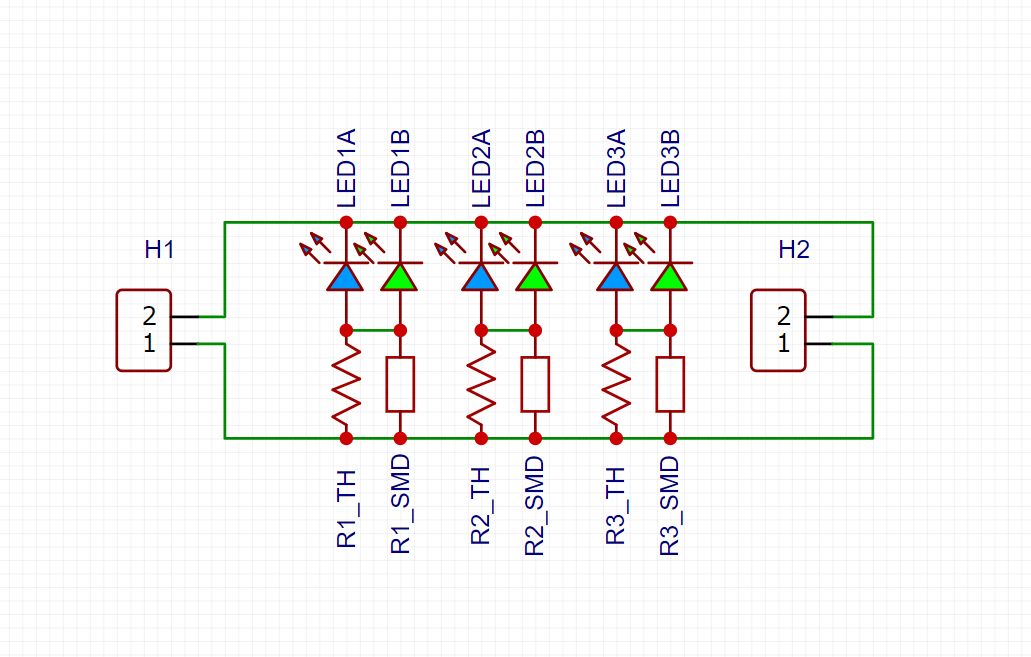
For those unfamiliar with how to calculate the value of the resistors, there are plenty of tutorials on the internet, but here's my version.

  1. First, you have to know the voltage at which the LEDs turn on. This is often somewhere on the packaging, but a general rule of thumb is red, yellow and orange turn on at about 2 volts and other common colors (including white) at 3 volts.
  2. Then you need to know how much voltage will be supplied to the whole circuit. For this PCB, 5 or 6 volts would be reasonable. The higher the voltage, the less efficient your power usage will be.
  3. Finally you need to decide how much current you want to feed to the LEDs. Maximum for individual 3mm or 5mm LEDs is usually around 20 mA, but the harder you drive them the shorter their life will be. LEDs can be surprisingly bright even at 1 or 2 mA.
NOTES:
  • Some LEDs are specialty LEDs such as blinking or color changing LEDs or infrared or ultraviolet and may turn on at a non-typical voltage, so those should be looked up before doing any calculations.
  • Resistors work by resisting the flow of electricity with the end result being a drop in voltage and an increase in heat. If you plan to make things really bright, you'll also want to make sure your resistor is rated to handle the heat.

Now we should have two voltages (Supply voltage from #2 and LED voltage from #1) and current from #3.
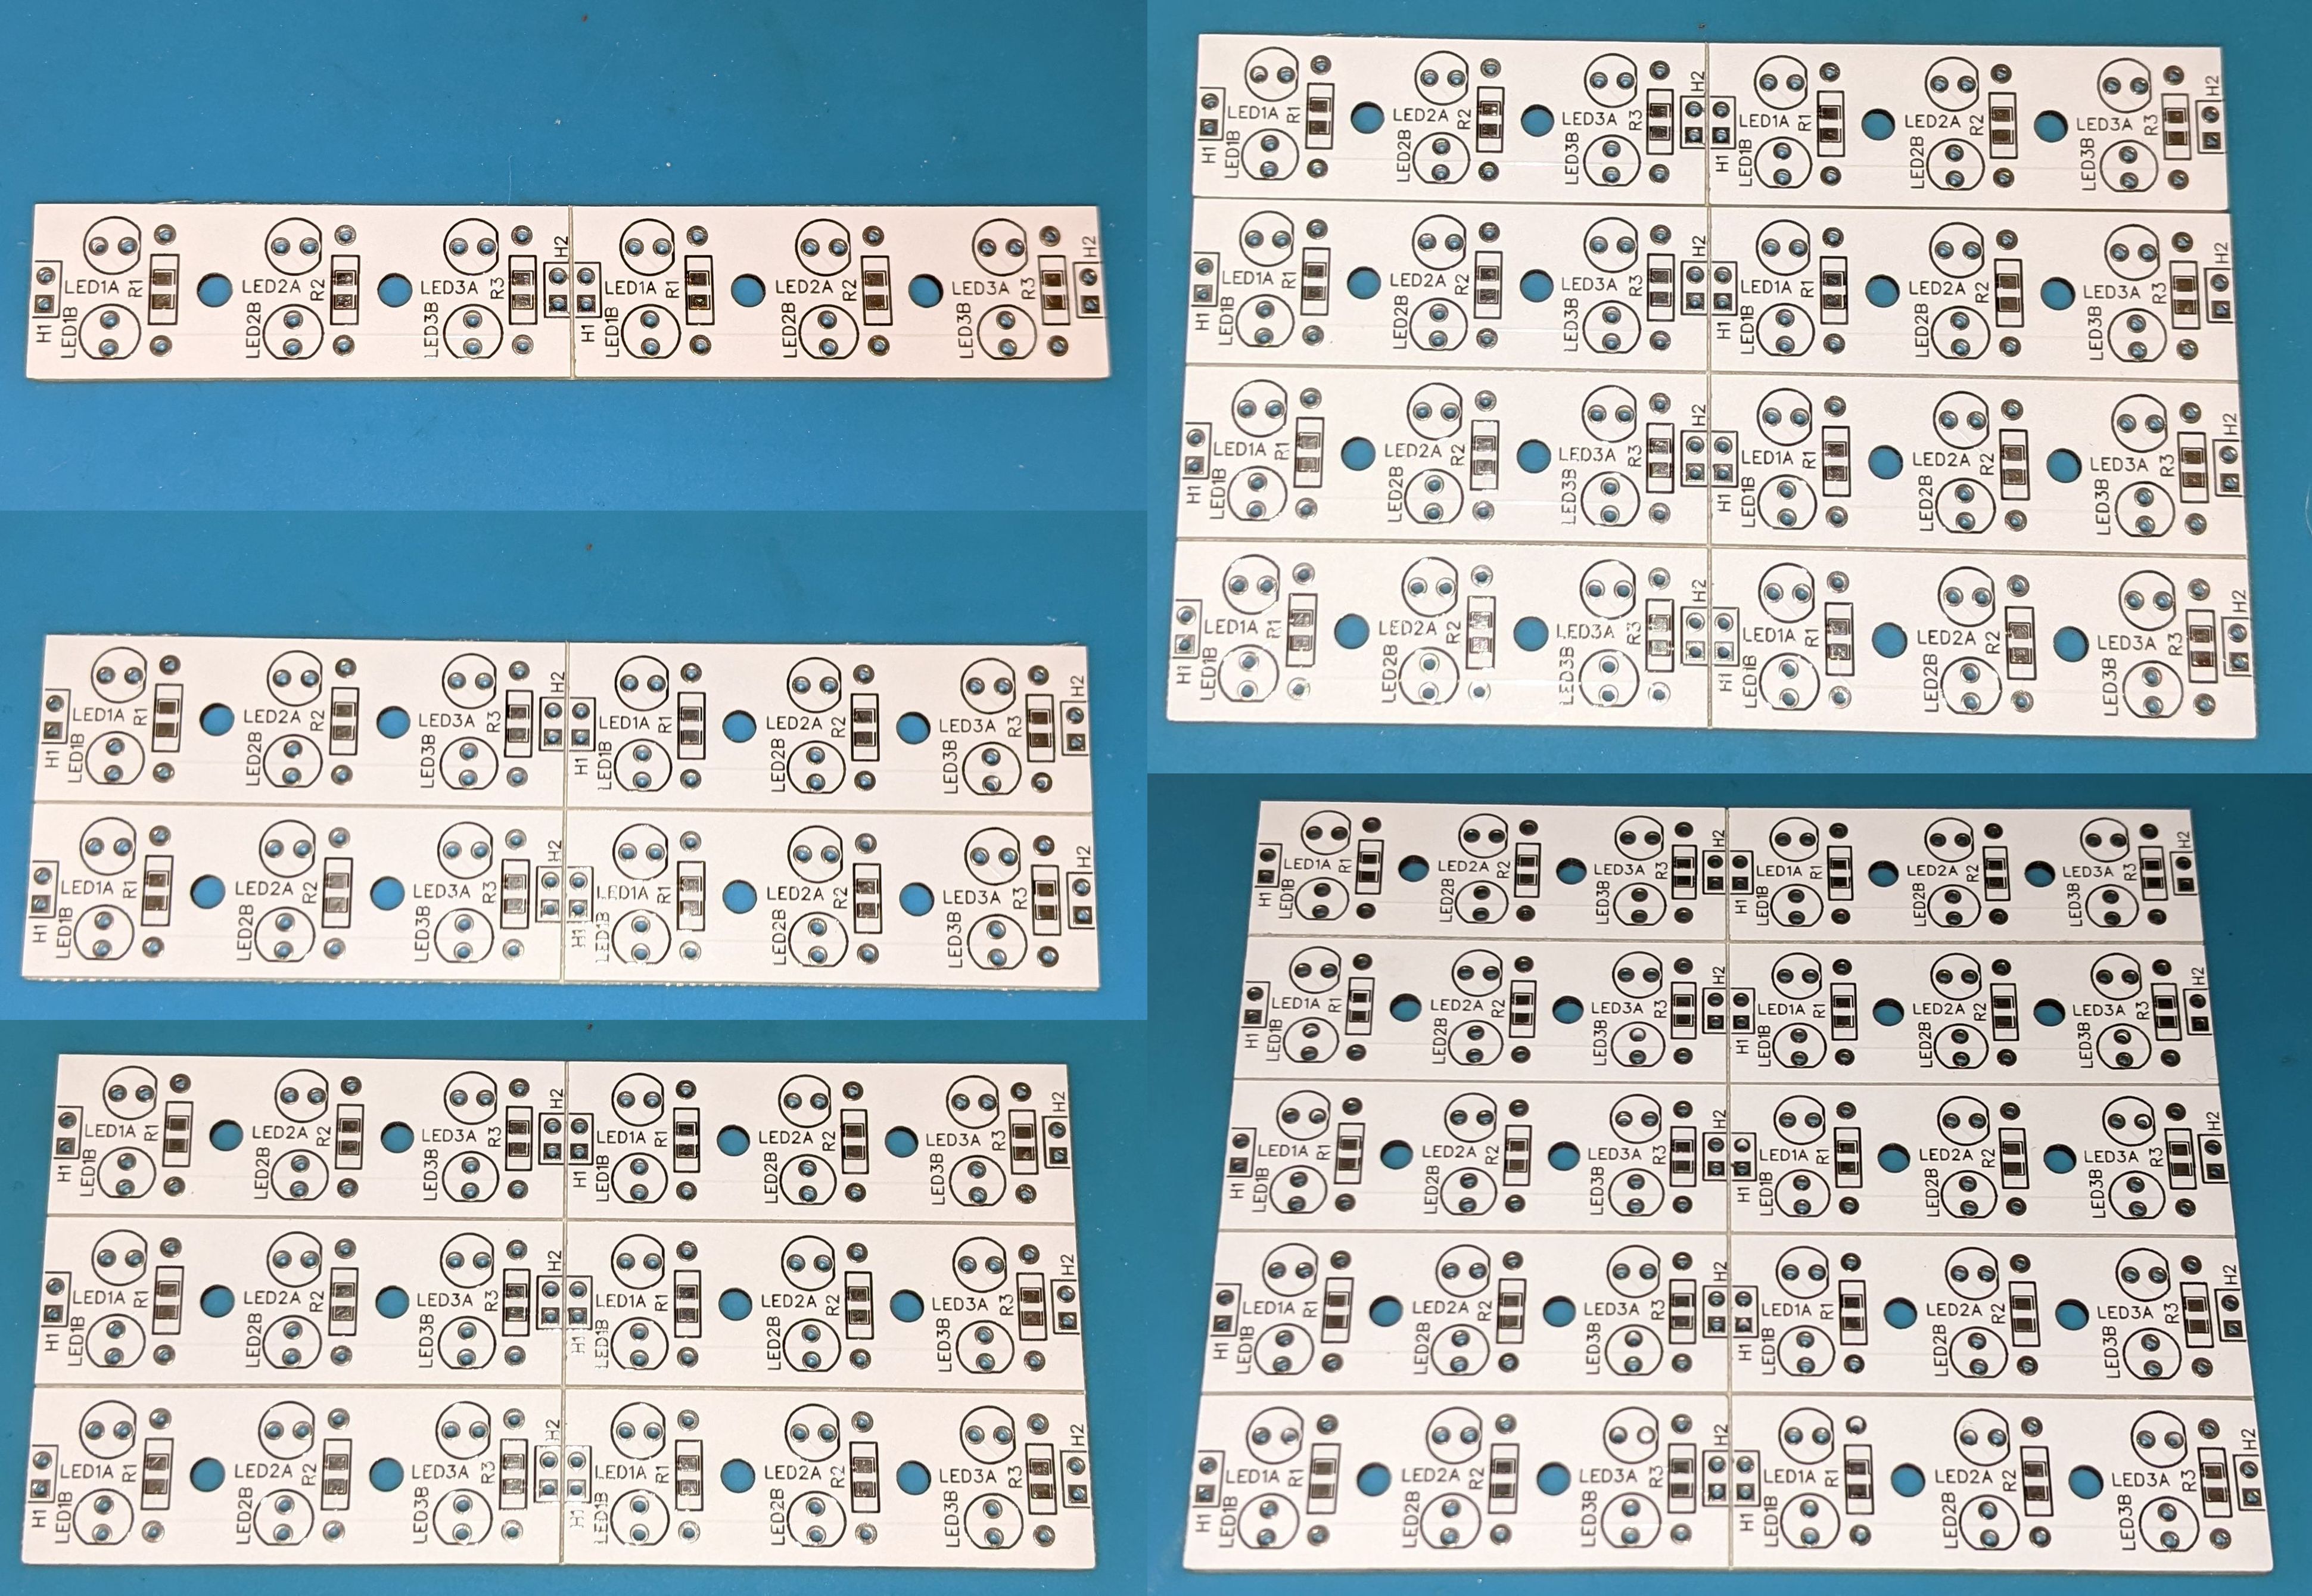
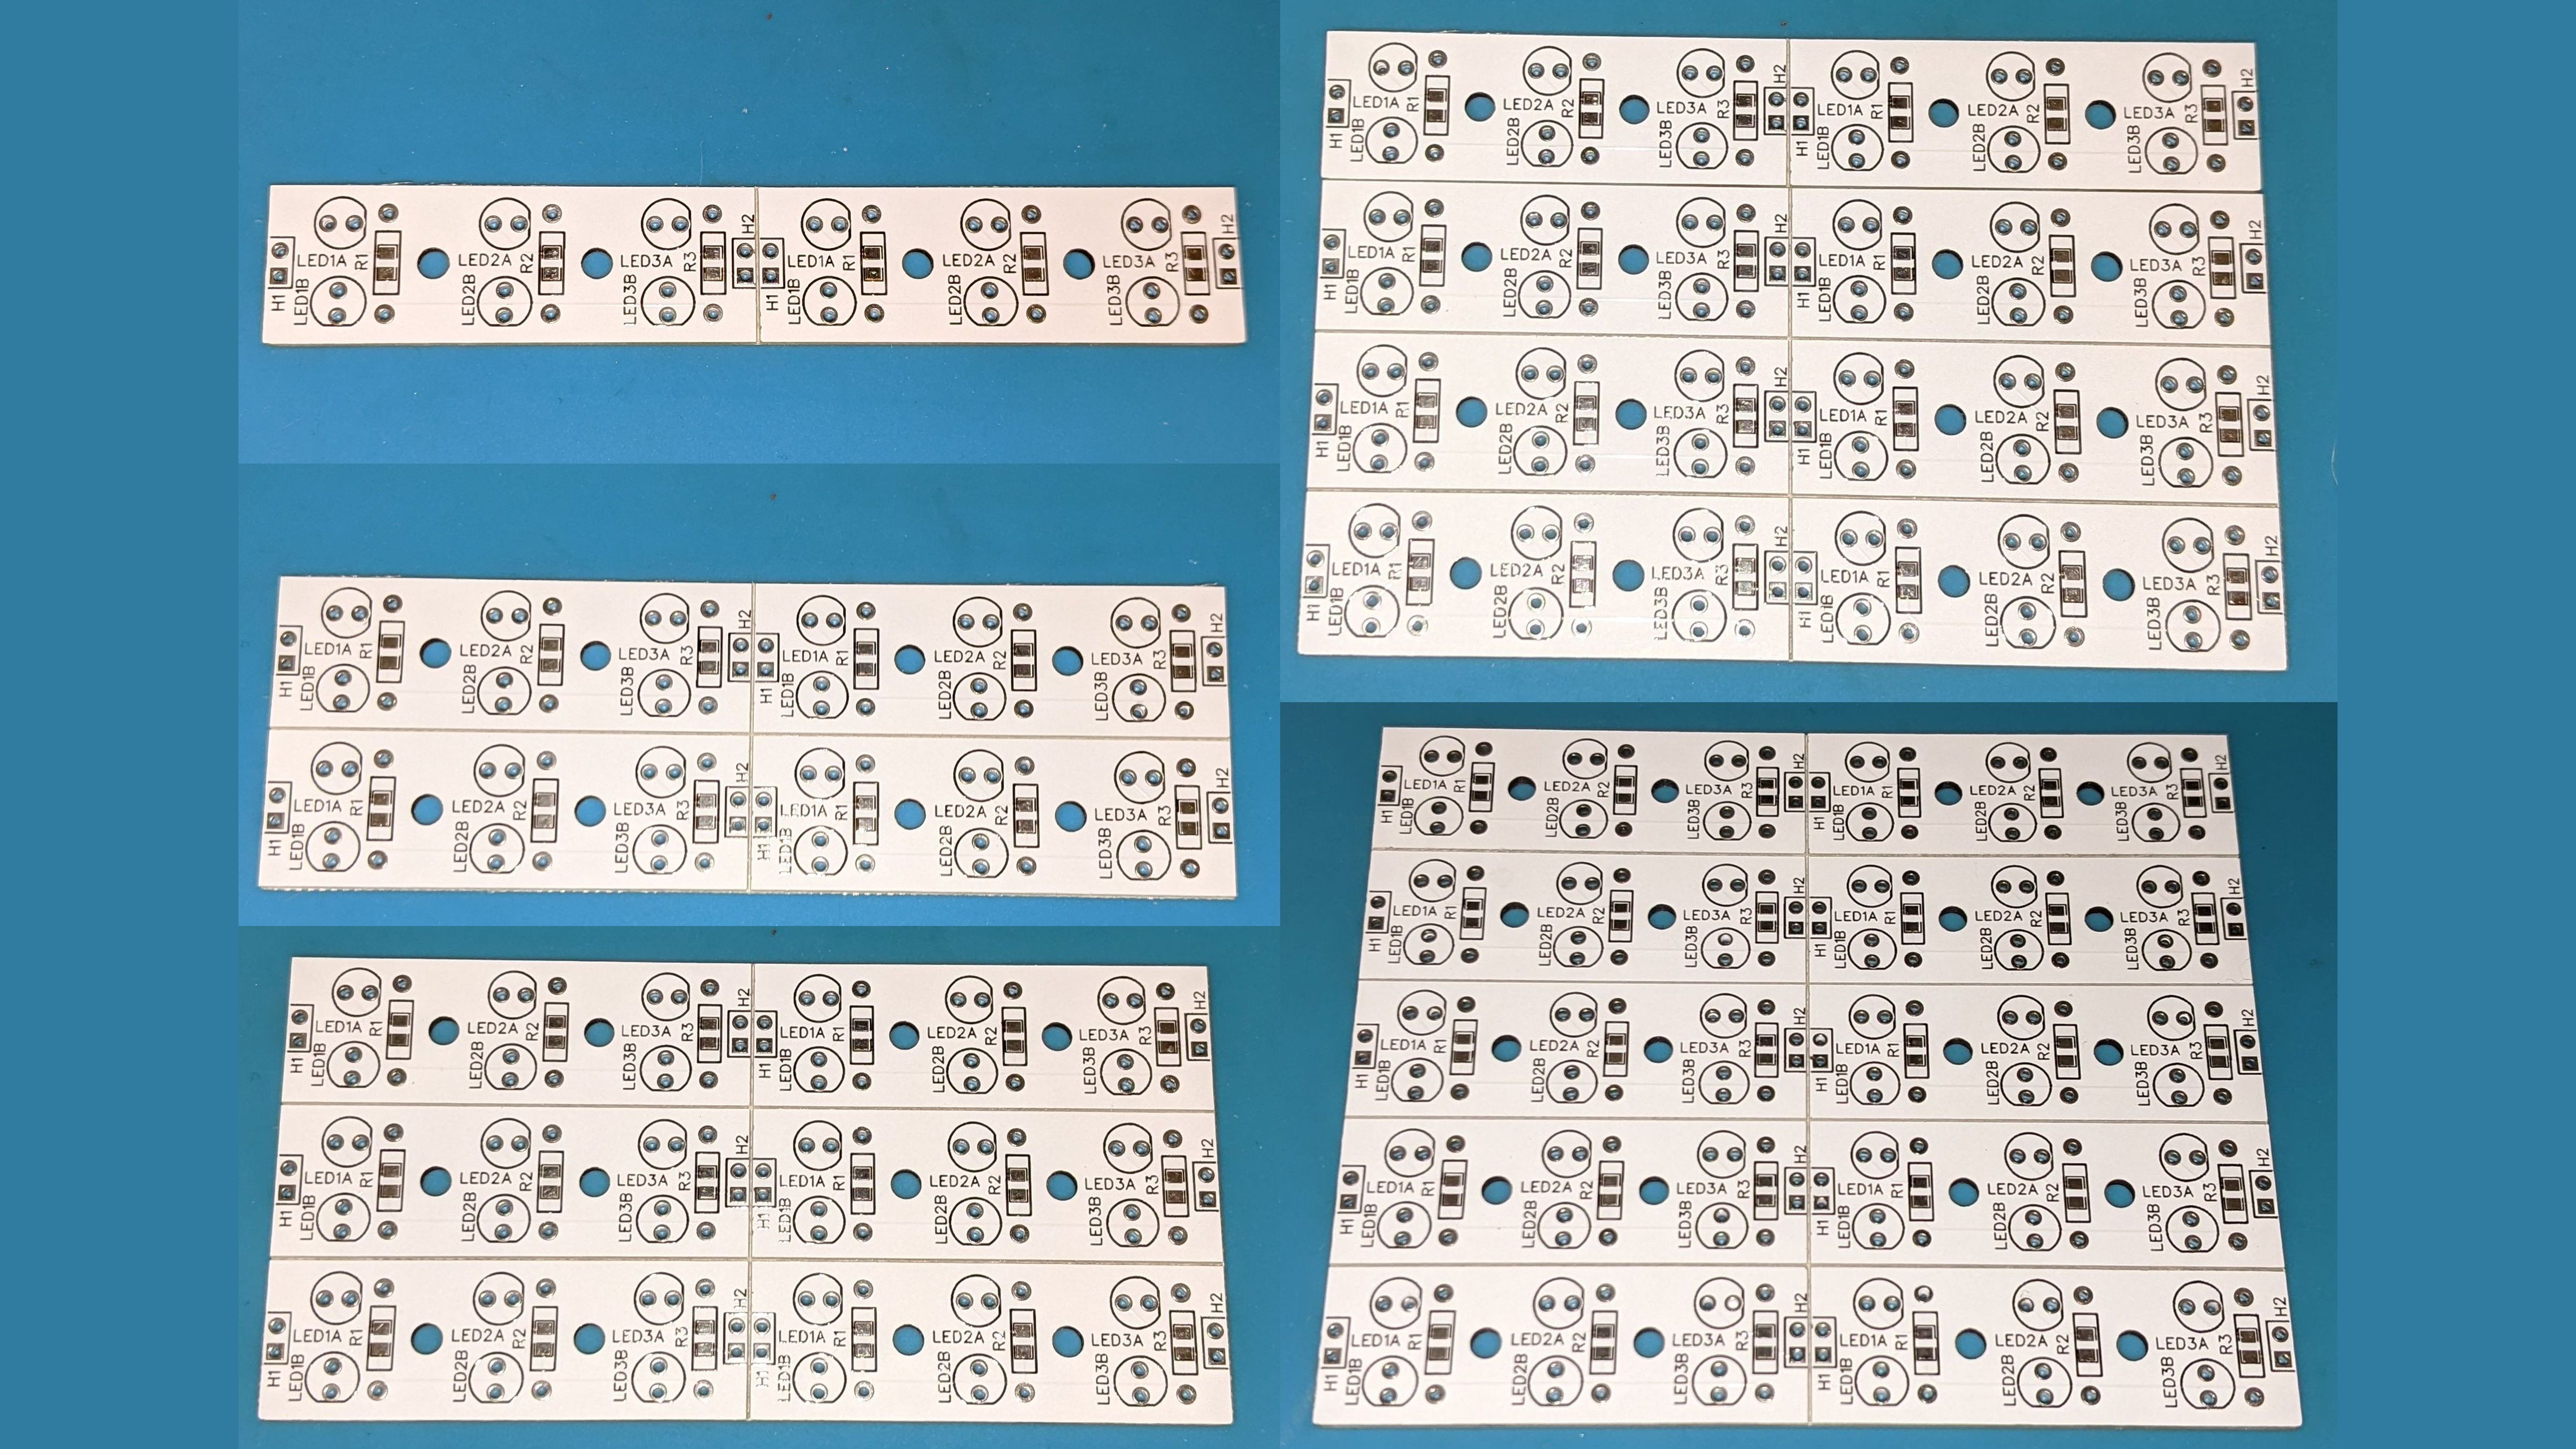
  1. The resistor for each section reduced the Supply voltage down to the LED voltage. This is called the voltage "drop". Calculate the voltage drop by subtracting the LED voltage from the supply voltage. Supply should always be at least a bit higher than the LED voltage.
  2. We also need to know the total current to be drawn through the resistor. Since, for each section, there is either just one LED or two in parallel. If you are using two LEDs in parallel we need to ADD the current through each together.
  3. Finally we divide the voltage drop from above by the total current to get the resistance measured in ohms.
NOTES:
  • In #2 above the currrent measurement will likely be in mili-Amps. For the calculation in #3, we need it in Amps. There are 1000 mili-Amps in an Amp so divide a mili-Amp value by 1000 to get the number of Amps. It will likely be a small fraction.
  • In case it's not yet obvious, resistor values are NOT predetermined because any number of configurations of the number or type of LEDs are possible.